Helm vs Kustomize
Helm
Steps to create a chart
-
Create directory for practice
helm-exampleand move into the new directory.mkdir helm-example && cd helm-example -
Create helm. -> would generate a folder
helm-exampleand files in it.helm create helm-example -
Go into the directory
helm-example(a directory for chart) and check the generated files.cd helm-exampletree . ├── Chart.yaml ├── charts ├── templates │ ├── NOTES.txt │ ├── _helpers.tpl │ ├── deployment.yaml │ ├── hpa.yaml │ ├── ingress.yaml │ ├── service.yaml │ ├── serviceaccount.yaml │ └── tests │ └── test-connection.yaml └── values.yaml 3 directories, 10 files -
Update templates to meet the requirements.
- Remove unnecessary templates.
rm templates/hpa.yaml templates/ingress.yaml templates/serviceaccount.yaml-
Remove unnecessary values from values.yaml.
-
Write your templates.
-
You can use the following built-in objects.
- Built-in Objects
Release: This object describes the release itself.Release.NameRelease.Namespace...
Values: Values passed into the template from the values.yaml file.Chart: The contents of the Chart.yaml file.Chart.NameChart.Version
- Others:
Files,Capabilities,Template
- Built-in Objects
-
Values: writevalues.yamland pass them into template yaml with{{ Values.xxx.yyy }} - Template functions:
{{ quote .Values.favorite.drink }}or pipelines:{{ .Values.favorite.drink | quote }}
-
Check with
--dry-run.cd .. helm install helm-example --debug --dry-run ./helm-example -
Lint
helm lint helm-example -
Install.
helm install helm-example --debug ./helm-example -
Check
helmhelm ls NAME NAMESPACE REVISION UPDATED STATUS CHART APP VERSION helm-example default 1 2021-05-24 07:22:45.809015 +0900 JST deployed helm-example-0.1.0 1.16.0 -
Check pod
1. Testkubectl get po NAME READY STATUS RESTARTS AGE helm-example-5d796c89c7-v4pvw 2/2 Running 0 80mhelm test helm-example -
Package a chart.
helm package helm-example -
Publish the chart. (Create a Github repo for Helm chart repository. https://github.com/nakamasato/helm-charts)
-
Options1: push package and index to the chart repo.
helm repo index ./ --url https://nakamasato.github.io/helm-chartsThis would generate
index.yaml. Push theindex.yamlandhelm-example-0.1.0.tgzto the chart repo. -
Option2: push chart source code + actions/helm-chart-releaser (ref: https://helm.sh/docs/howto/chart_releaser_action/) <- nakamasato/helm-charts uses this.
-
-
Add the repo that is created above.
helm repo add nakamasato https://nakamasato.github.io/helm-charts
helm repo update # update the repository info
Search for your chart.
helm search repo naka NAME CHART VERSION APP VERSION DESCRIPTION nakamasato/helm-example 0.1.0 v0.0.1 Simple API application. -
Install your helm chart.
helm install example-from-my-repo nakamasato/helm-example
NAME: example-from-my-repo
LAST DEPLOYED: Tue May 25 09:07:24 2021
NAMESPACE: default
STATUS: deployed
REVISION: 1
NOTES:
1. Get the application URL by running these commands:
export POD_NAME=$(kubectl get pods --namespace default -l "app.kubernetes.io/name=helm-example,app.kubernetes.io/instance=example-from-my-repo" -o jsonpath="{.items[0].metadata.name}")
export CONTAINER_PORT=$(kubectl get pod --namespace default $POD_NAME -o jsonpath="{.spec.containers[0].ports[0].containerPort}")
echo "Visit http://127.0.0.1:8080 to use your application"
kubectl --namespace default port-forward $POD_NAME 8080:$CONTAINER_PORT
Kustomize
Steps to create yaml for multiple envs
-
Make a directory for two envs (
dev,prodor any necessary envs)mkdir -p kustomize-example/{base,overlays/dev,overlays/prod} && cd kustomize-example -
Check structure.
tree . ├── base └── overlays ├── dev └── prod 4 directories, 0 files -
Add necessary resources to
basefolder.Tips: Generate
yamlwithkubectlwith--dry-run=client -o yamlExamples:
kubectl create deployment kustomize-example --image nginx --replicas=1 --dry-run=client --output yaml > kustomize-example/base/deployment.yaml # need manual modificationkubectl create service clusterip kustomize-example --tcp=80:80 --dry-run=client --output yaml > kustomize-example/base/service.yamlkubectl create configmap kustomize-example-uwsgi --from-literal=MYSQL_HOST=mysql.database.svc.cluster.local --from-literal=MYSQL_USER=user --from-literal=MYSQL_PORT=3306 --from-literal=MYSQL_DATABASE=test --dry-run=client -o yaml > kustomize-example/base/configmap.yamlkubectl create secret generic kustomize-example-uwsgi --from-literal=MYSQL_PASSWORD=password --dry-run=client -o yaml > kustomize-example/base/secret.yaml -
Check if
baseis valid.kubectl apply -k kustomize-example/base --dry-run=client -
Create
Namespacekustomize-devandkustomize-prod.kubectl create ns kustomize-dev --dry-run=client -o yaml > kustomize-example/ns-kustomize-dev.yaml kubectl create ns kustomize-prod --dry-run=client -o yaml > kustomize-example/ns-kustomize-prod.yaml kubectl apply -f kustomize-example/ns-kustomize-dev.yaml,kustomize-example/ns-kustomize-prod.yaml -
Create overlays.
-
Make each overlay same as
base.-
kustomize-example/overlays/dev/kustomization.yaml:-namespace: kustomize-dev bases: - ../../basekustomize-example/overlays/prod/kustomization.yaml:namespace: kustomize-prod bases: - ../../base -
Check
kubectl diff -k kustomize-example/overlays/dev
kubectl diff -k kustomize-example/overlays/prod
-
-
Create files to overwrite
base.Example: - Add resource request/limit to prod. - Increase replicas for prod.
-
Add
patchestokustomize-example/overlays/prod/kustomization.yaml.Example:
+ patches: + - deployment.yaml -
Update resources to override
baseExample:
kustomize-example/overlays/prod/deployemnt.yaml+ resources: + requests: + cpu: "100m" + memory: "256Mi" + limits: + cpu: "1000m" + memory: "256Mi"
-
-
-
Apply overlays (
prodin this case.).kubectl diff -k kustomize-example/overlays/prod@@ -123,7 +141,7 @@ uid: 8a415db8-48c3-4a5b-831a-b70dd9adbf4c spec: progressDeadlineSeconds: 600 - replicas: 1 + replicas: 2 revisionHistoryLimit: 10 selector: matchLabels: @@ -143,7 +161,13 @@ - image: nginx imagePullPolicy: Always name: nginx - resources: {} + resources: + limits: + cpu: "1" + memory: 256Mi + requests: + cpu: 100m + memory: 256Mi terminationMessagePath: /dev/termination-log terminationMessagePolicy: File volumeMounts: @@ -158,7 +182,13 @@ image: nakamasato/flask-test imagePullPolicy: Always name: uwsgi - resources: {} + resources: + limits: + cpu: "1" + memory: 256Mi + requests: + cpu: 100m + memory: 256Mi terminationMessagePath: /dev/termination-log terminationMessagePolicy: File dnsPolicy: ClusterFirstkubectl apply -k kustomize-example/overlays/prod
Example 1 (web app with mysql)

-
Deploy dependencies.
kubectl create ns database; kubectl apply -k dependencies/mysql -
Set up with
kustomize-
Create
Namespaces.kubectl apply -f kustomize-example/ns-kustomize-dev.yaml,kustomize-example/ns-kustomize-prod.yaml -
Deploy
kustomize-example.kubectl apply -k kustomize-example/overlays/dev kubectl apply -k kustomize-example/overlays/prod -
Port-forward the service.
kubectl port-forward svc/kustomize-example 8080:80 -n <namespace> -
Check the application functionality.
curl -X POST -H "Content-Type: application/json" -d '{"name": "naka", "email": "naka@example.com"}' localhost:8080/users{"id":2,"name":"naka"}
-
-
Set up with
helm-
Install Helm chart.
helm install helm-example nakamasato/helm-example -n helm-dev --create-namespace helm install helm-example nakamasato/helm-example -n helm-prod --create-namespace -
Port-forward the service.
kubectl port-forward svc/helm-example 8080:80 -n <namespace> -
Check
GETcurl localhost:8080/users/1
-
-
Update image.
-
helmhelm upgrade --set nginx.image.tag=1.15.2 helm-example nakamasato/helm-example -n helm-dev
or
- Prepare
values-prod.yaml -
Apply
helm upgrade -f values-prod.yaml helm-example nakamasato/helm-example -n helm-prod
-
kustomize-
Add the following code to
kustomize-example/overlays/prod/kustomization.yaml- Applyimages: - name: nginx newName: nginx newTag: 1.15.2kubectl apply -k kustomize-example/overlays/prod
-
-
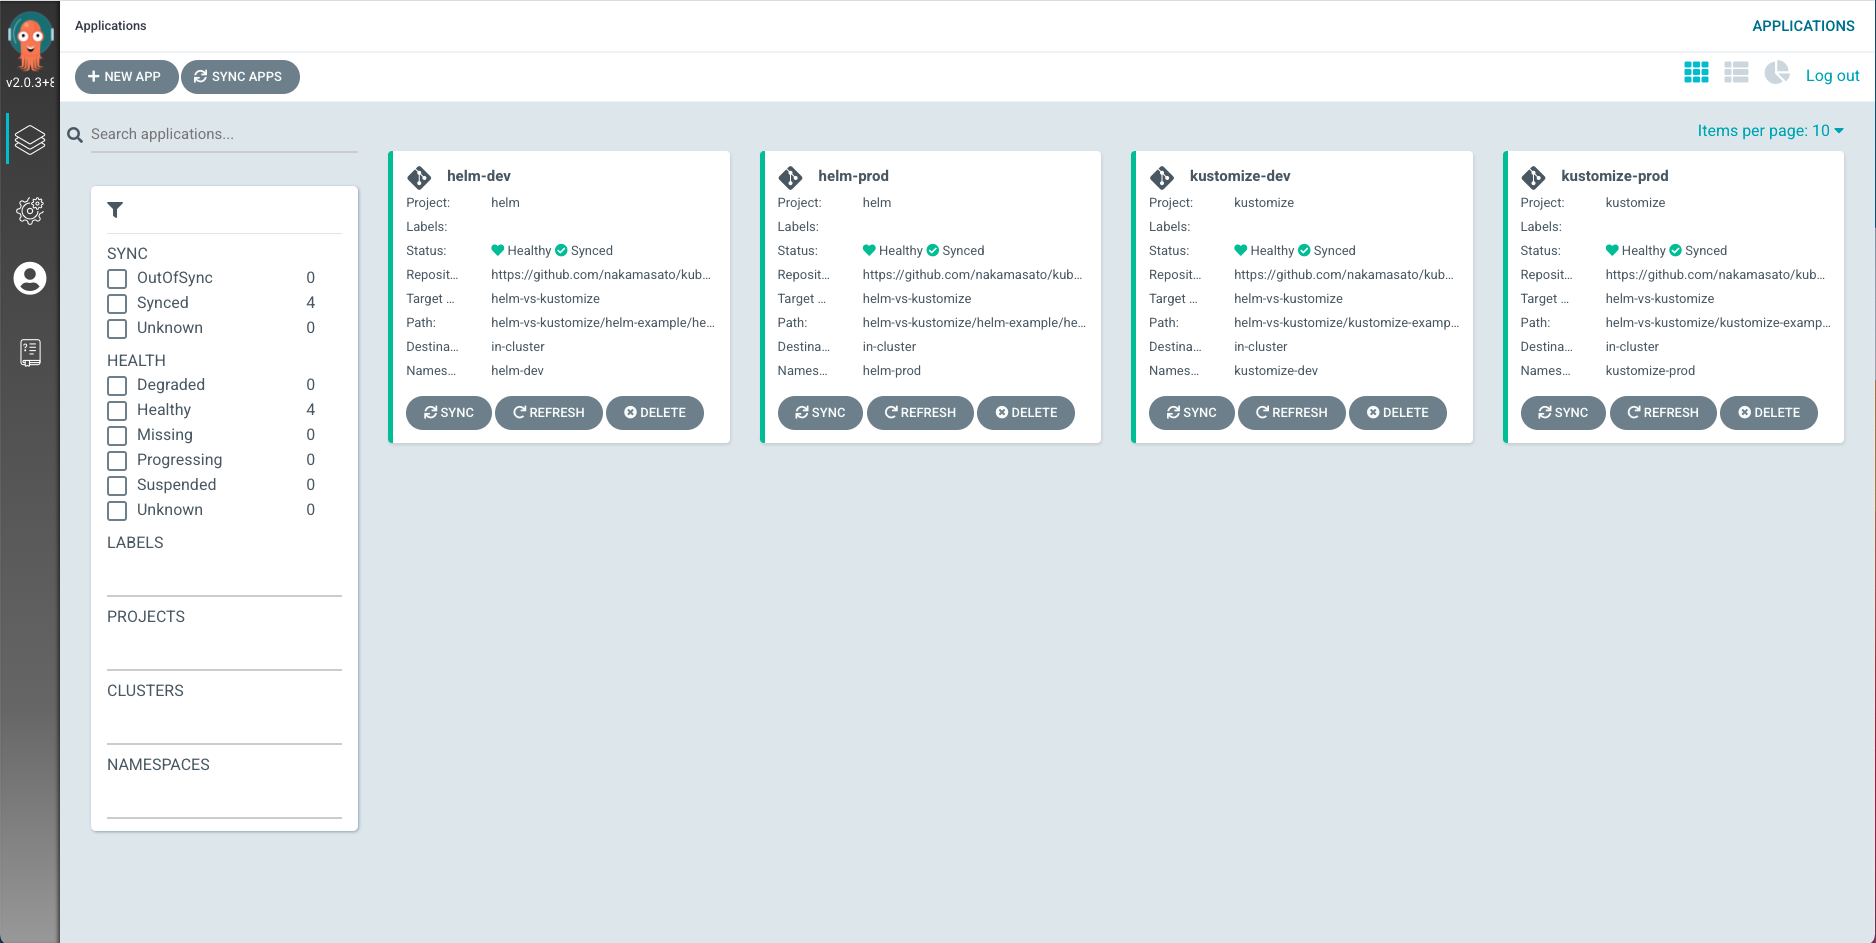
ArgoCD
Version: v2.0.3
kubectl create namespace argocd
kubectl apply -n argocd -f https://raw.githubusercontent.com/argoproj/argo-cd/v2.0.3/manifests/install.yaml
-
Deploy using Kustomize
-
Namespace
kubectl apply -f kustomize-example/ns-kustomize-dev.yaml,kustomize-example/ns-kustomize-prod.yaml -
Apply
ArgoProject, dev and prodApplication.kubectl apply -f argocd/kustomize
-
-
Deploy using Helm
-
Apply
ArgoProject, dev and prodApplication.kubectl apply -f argocd/helm
-